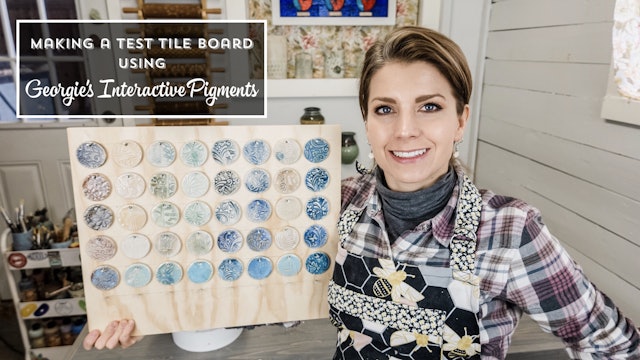
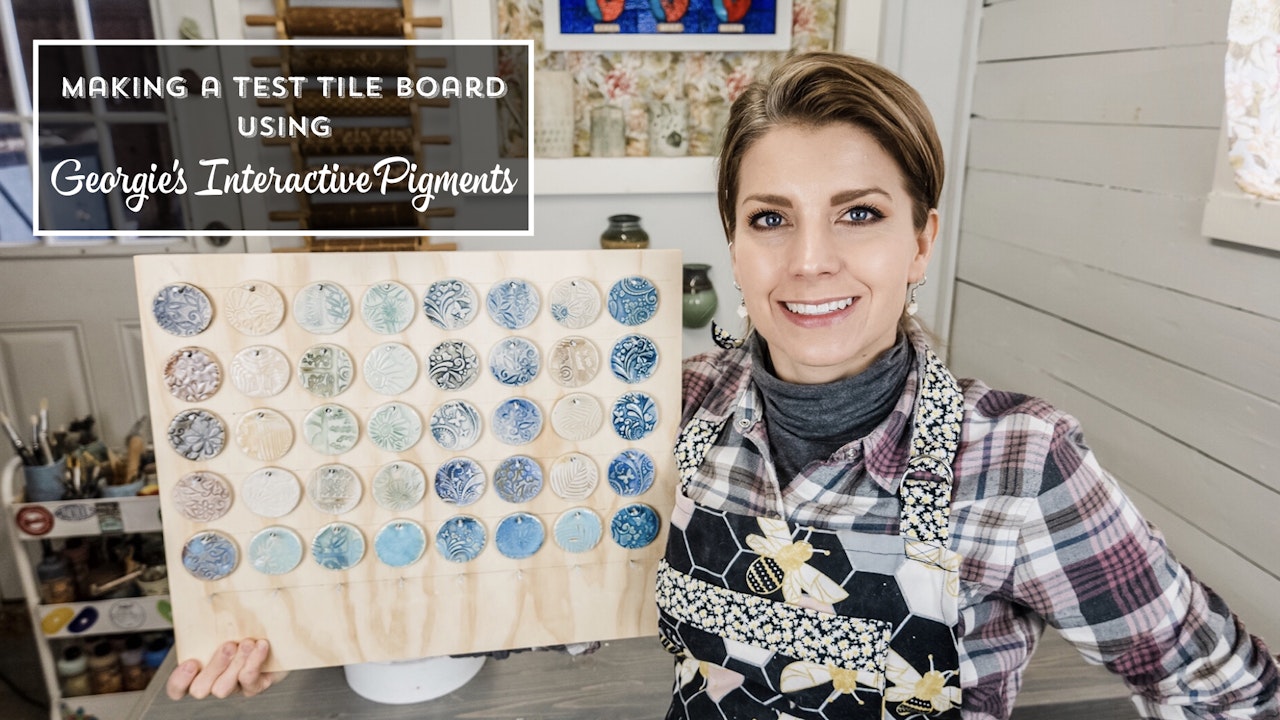
Making A Test Tile Board with Georgie's Interactive Pigments
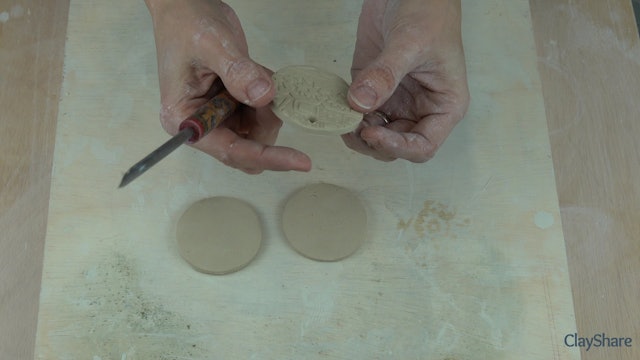
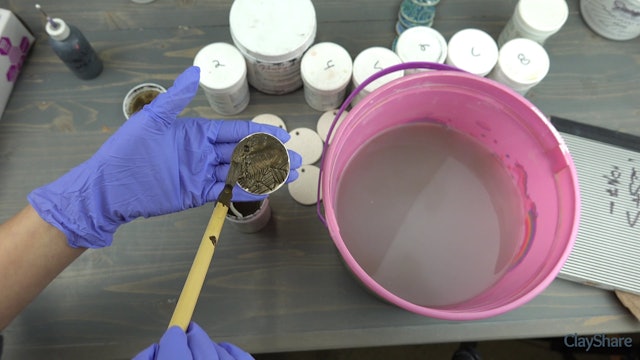
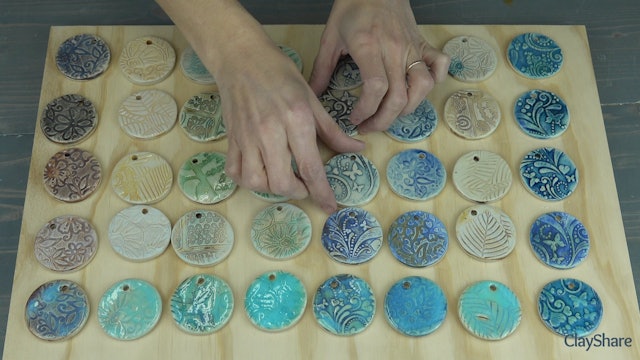
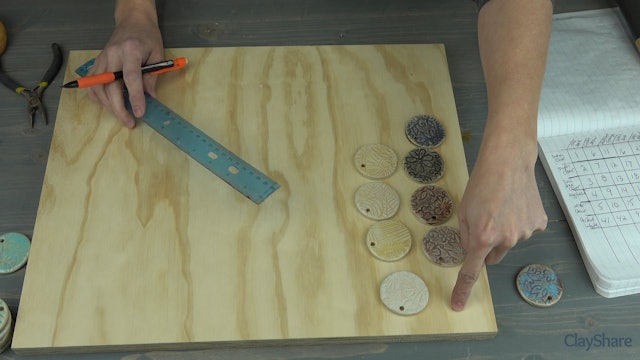
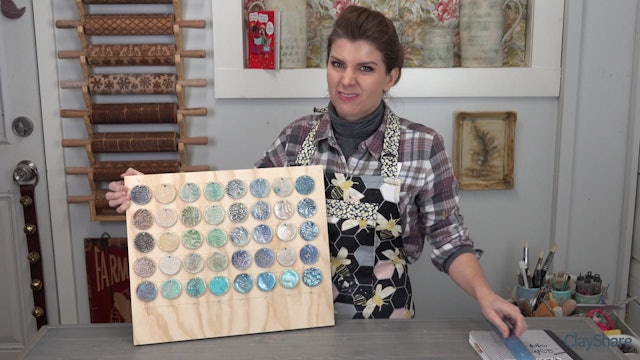
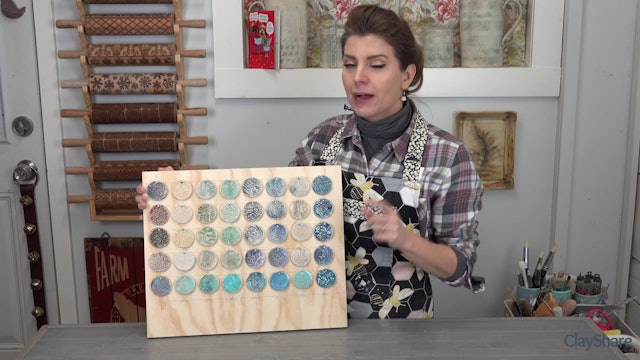
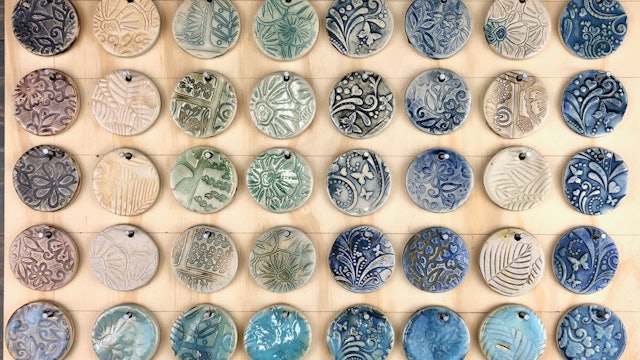
Test tiles are the best way to test out and to keep a reference of interactive pigments, underglazes, stain and glazes. In this class I will show you how to make your own test tiles, how to keep a record of them and how to create a test tiles reference board.
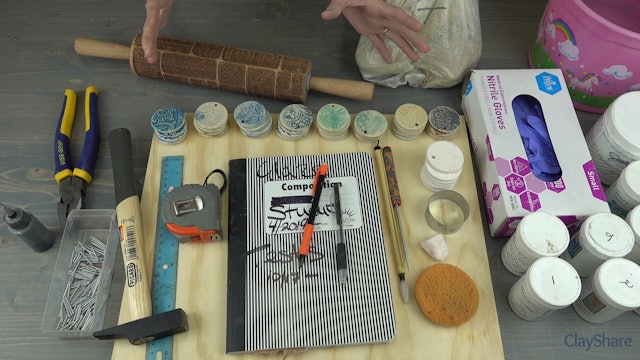
Tools & Materials
Clay slabs of the type of clay you want to use, I am using Laguna Bmix5
2” circle cookie cutter
Hole Cutter ½”
Stamps, texture mates, embossed rolling pins or anything you have for making texture
Pigments & Glazes used in this class:
Georgie’s Interactive Pigments, set of 8 (http://www.georgies.com/gcc-glazes-pigments.shtml)
Georgie’s Super Clear
Georgie’s Eggshell Wash
Georgie’s Zinc Free Clear
Georgie’s Satin Clear
Jess’s Chun Blue (available from clayscapespottery.com) (https://www.clayscapespottery.com/collections/signature-line/products/jesss-chun-blue)
Ware board
Sponge,
Clean water
Sumi or any round brush (https://amzn.to/2FLBX2Z)
Nitrile Gloves (https://amzn.to/2TgOPGj)
Board for mounting your test tiles
Kiln, your own or access to one
Nails
Hammer
Tape Measure
Pencil
-
Georgies-Test-Tile-Board-01-Tools
-
Georgies-Test-Tile-Board-02-Making-Tiles
-
Georgies-Test-Tile-Board-03-Adding-Pigments
-
Georgies-Test-Tile-Board-04-Tile-Results
-
Georgies-Test-Tile-Board-05-Tile-Board
-
Georgies-Test-Tile-Board-06-Wrap-Up
-
Georgies-Test-Tile-Board-Complete
-
Test Tile Reference Board: Georgies Interactive Pigments
4.01 MB

